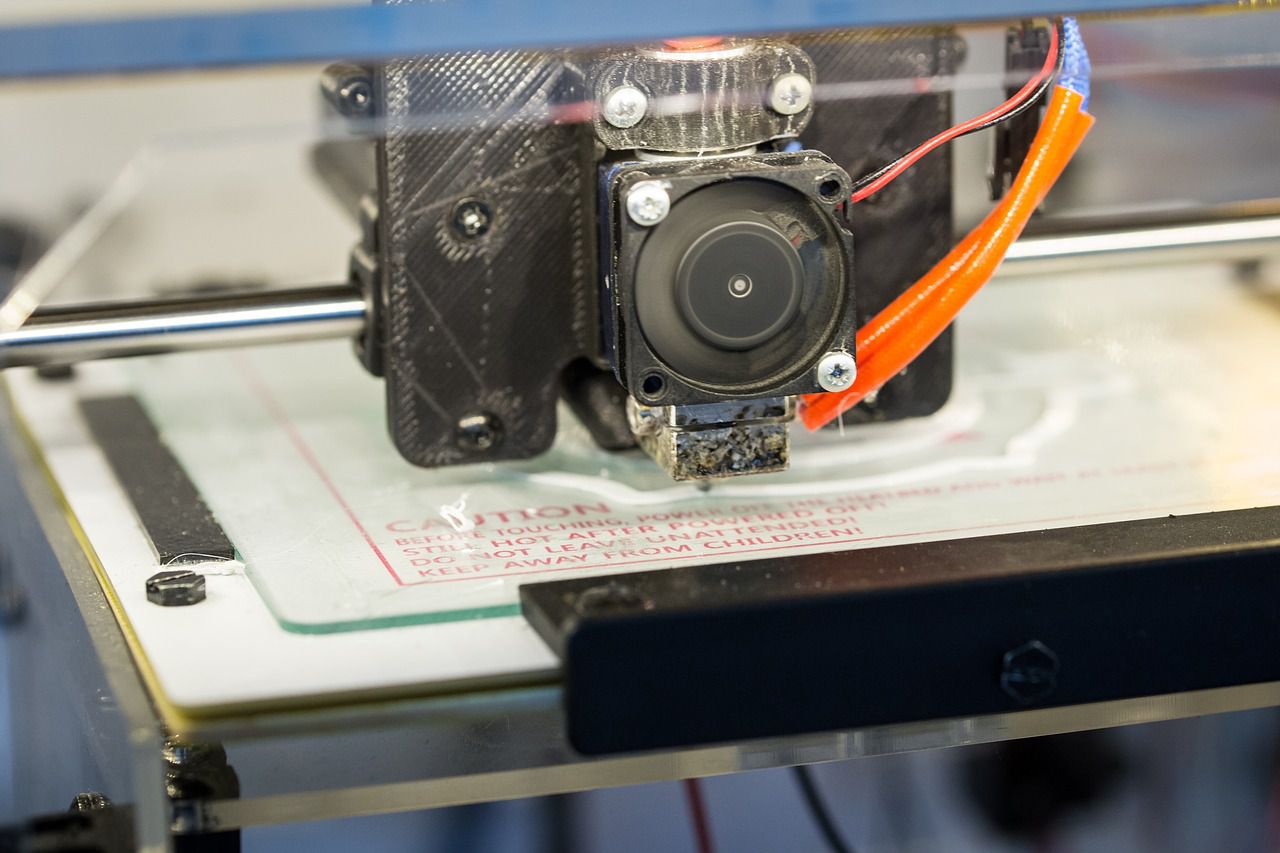
A clog in a 3D printer occurs when the filament (the material being printed) is unable to flow properly through the extruder, resulting in a 3D Printer Clog. This can happen for a variety of reasons, such as a buildup of old filament, a jam in the extruder, or a problem with the printer’s settings.
To fix a clog, the first step is to try to clear the blockage by manually pushing the filament through the extruder. If that doesn’t work, you may need to disassemble the extruder and clean it out. Vaporwave Grid in Photoshop, you should check and adjust the printer’s settings to ensure that the filament is being extruded at the correct temperature and speed.
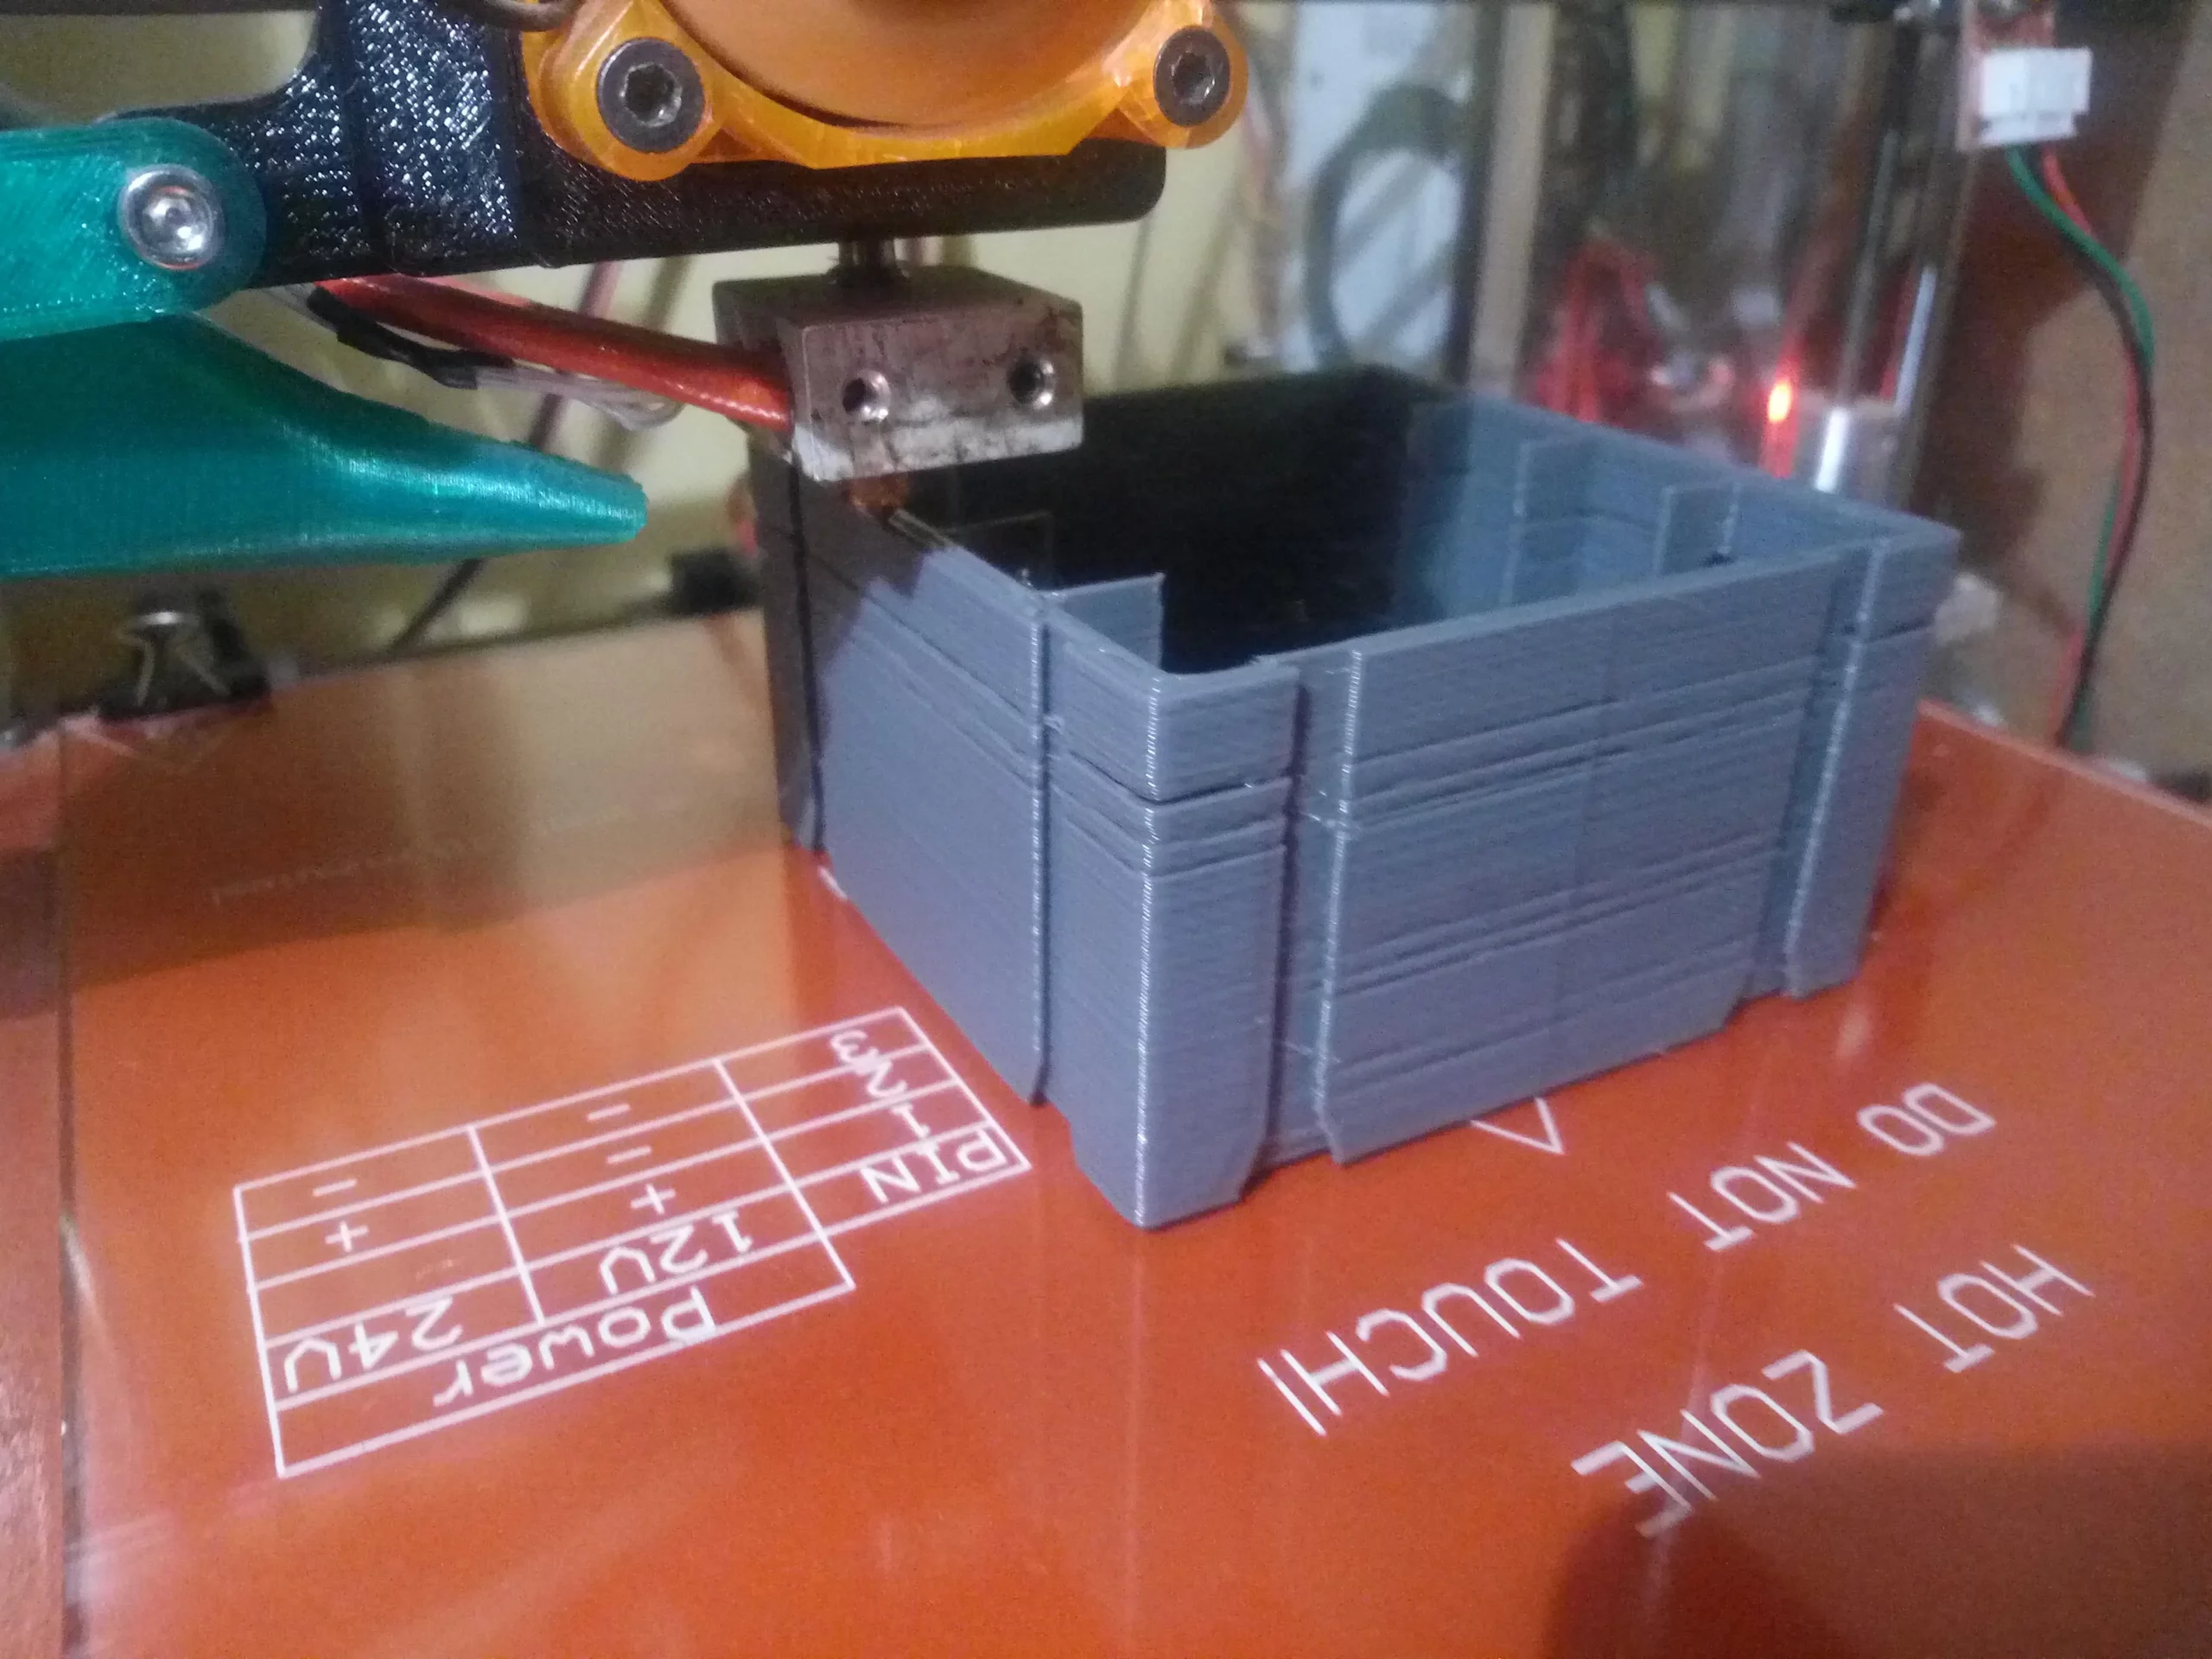
From time to time, you could find your prints are looking wiry, scanty, and with missing layers. In the event that you check through our 3D printer investigating guide, you’d sort out your spout is without a doubt clogged. No problem – this guide will assist you with addressing the issue and get you printing again in a matter of seconds.
We’ve said it commonly: 3D printing is essentially a ceaseless course of investigating. So many things can turn out badly, particularly on the off chance that you’re evaluating another fiber or when a portion of the pieces of your 3D printer need some support.
The spout is effectively one of the main pieces of your 3D Printer Clog. All things considered, it goes about as the change between the hot end and the print bed – the very thing that transforms the fiber into an article in 3D space. Accordingly, having your spout clog busy printing can very disappoint. On the off chance that this continues to happen to you, this guide will assist you with making quick work of the case and search for ways of settling it.
What Causes 3D Printer Spout Clogs
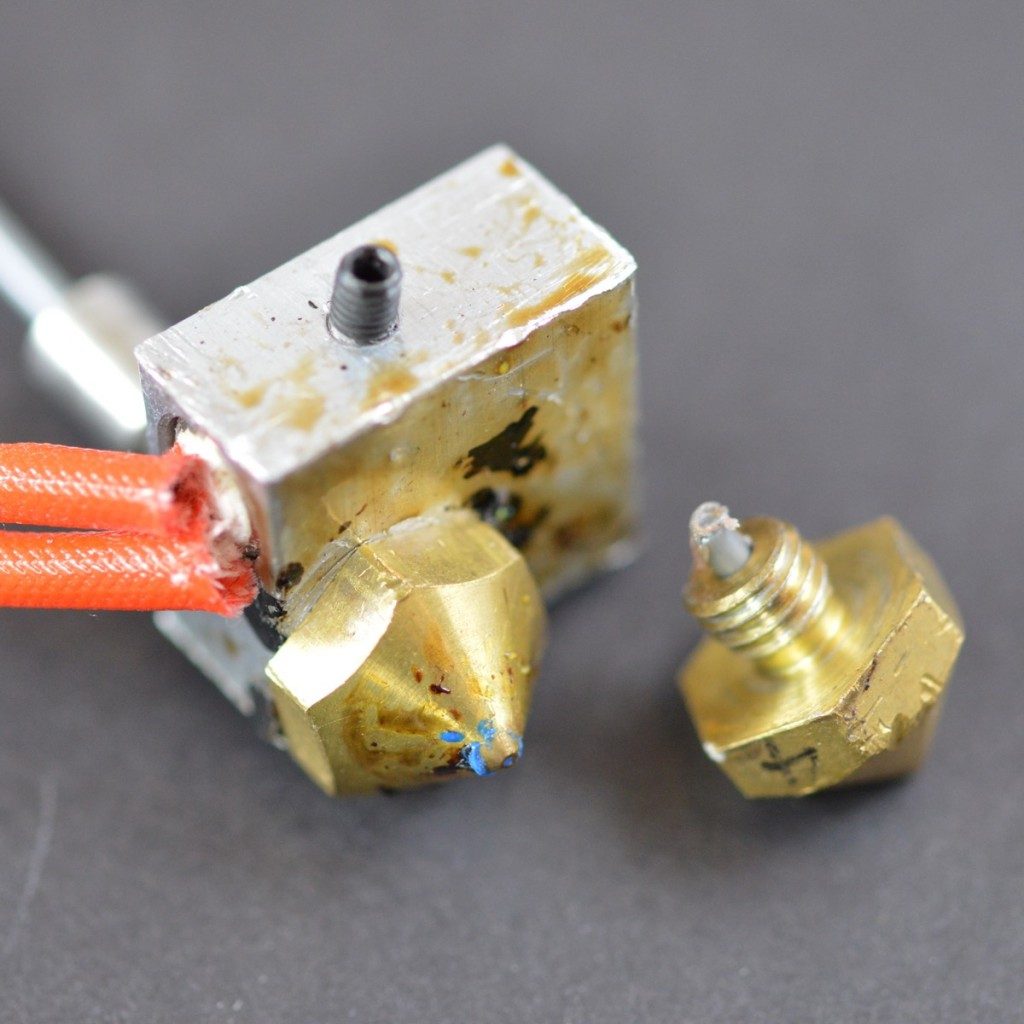
To comprehend a clog, most likely best to realize a couple of things can cause the issue in any case. Keeping fiber fixed up and clean is a decent practice to assist with keeping away from clogs.
- Fiber stripping in the extruder gear and the fiber left in the spout sets into a fitting
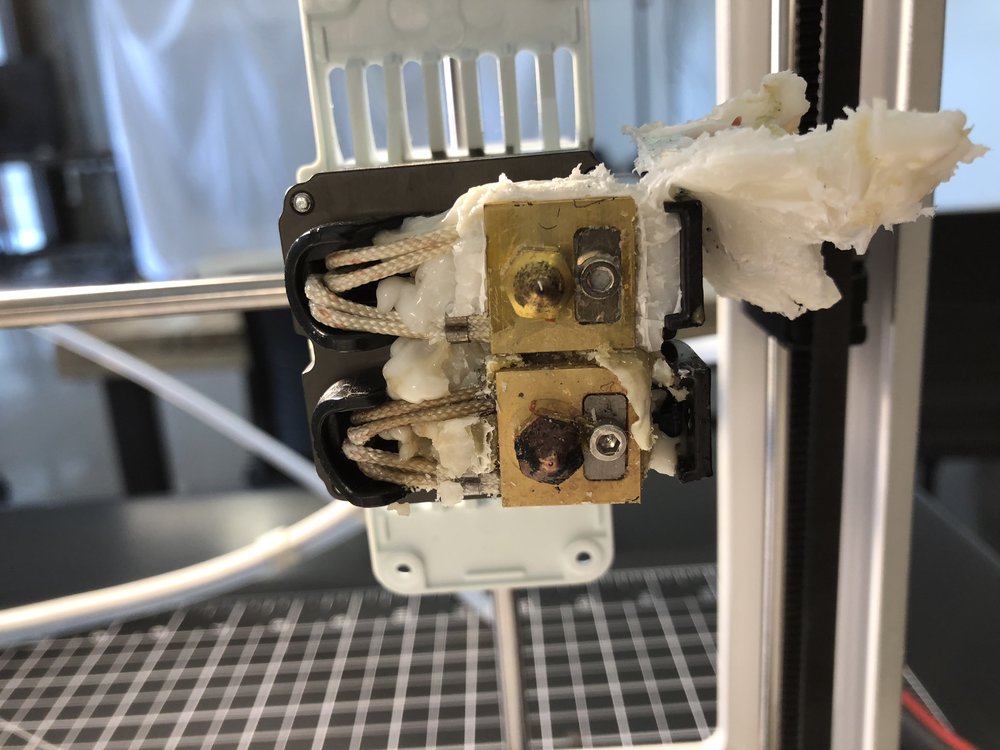
- Dust on grimy fiber frames a fitting
- Something as straightforward as not clearing out the spout in the wake of changing between materials
How To Check assuming Your 3D Printer Spout is Clogged
Withdraw the extruder gear switch and move fiber through manually. On the off chance that it twists, is difficult to push through, or doesn’t come through by any means, the spout is 3D Printer Clog. It doesn’t take a lot of power to help it through, so don’t press on it too hard.
Tools Expected to Unclog Your 3D Printer’s Spout
In the event that you are utilizing every one of the techniques to unclog your spout beneath, you will require the accompanying tools. We suggest attempting them all and finding one that turns out best for you.
- Cleaning fiber or nylon fiber in the width your printer utilizes.
- A metal wire brush (steel wire can harm the spout)
- Acetone
- Needle therapy needle
- Sickle wrench
- Attachment wrench
- Heat firearm or blowtorch
Steps to prevent nozzle clogging
1. Clean the nozzle when switching between filaments
With regards to stuck spouts, any kind of buildup is your adversary. Generally speaking, there is consistently a limited quantity of fiber left over on the spout that you can’t take out after your print has wrapped up. Luckily, the leftover fiber can undoubtedly be taken out by brushing the spout from the external utilizing a wire brush. You can likewise utilize a brush with metal fibers if you have any desire to ensure that your spout doesn’t get harmed.
2. Utilize perfect and great fiber
Continuously store your fiber spools in impermeable sacks. Besides the fact that this forestalls any residue development, yet it likewise forestalls dampness assimilation. The impacts of dampness in the fiber on the 3D printing process merit its very own entire article. Until further notice, simply trust us – dampness is awful information.
All the more significantly, just purchase your fiber from confided in venders. Issues with measurement consistency are regularly possibly experienced when you purchase those truly modest fibers from obscure retailers.
3. Print at the right temperature
Getting the perfect balance of printing temperature for a 3D Printer Clog, particularly one you haven’t worked with previously, can take a great deal of experimentation. Setting the print temperature too high or too low can prompt a large group of issues – including a clogged spout.
Continuously observe the suggested printing temperatures from the producer. We recommend beginning at the most reduced worth and moving gradually up by 5 °C increases until you are happy with the printing execution.
4. Level your print bed
On the off chance that you are as yet running into issues with a clogged spout notwithstanding dialing in every one of the fundamental settings and utilizing the best fiber you can find, then, at that point, it very well might be an ideal opportunity to adjust your print bed. This is on the grounds that an unleveled bed will in all likelihood bring about a poor spout level.
Fabricate level evening out is an underlying element in most 3D printers. You’ll in all probability need to do it physically, with the product helping you out with bit by bit guidelines. In the event that you have an extremely top of the line model, it might accompany an auto-evening out highlight. Regardless, bed evening out is something you ought to do on an ordinary timetable.
5. Set the ideal spout level
Whenever you’ve guaranteed that your bed is level, you can without much of a stretch set the underlying Z-setting of your spout at the ideal level. 3D Printer Clog too high can cause unfortunate bed attachment as the fiber chills off before it raises a ruckus around town bed while setting it too low generally expands the possibilities of your spout clogging up.