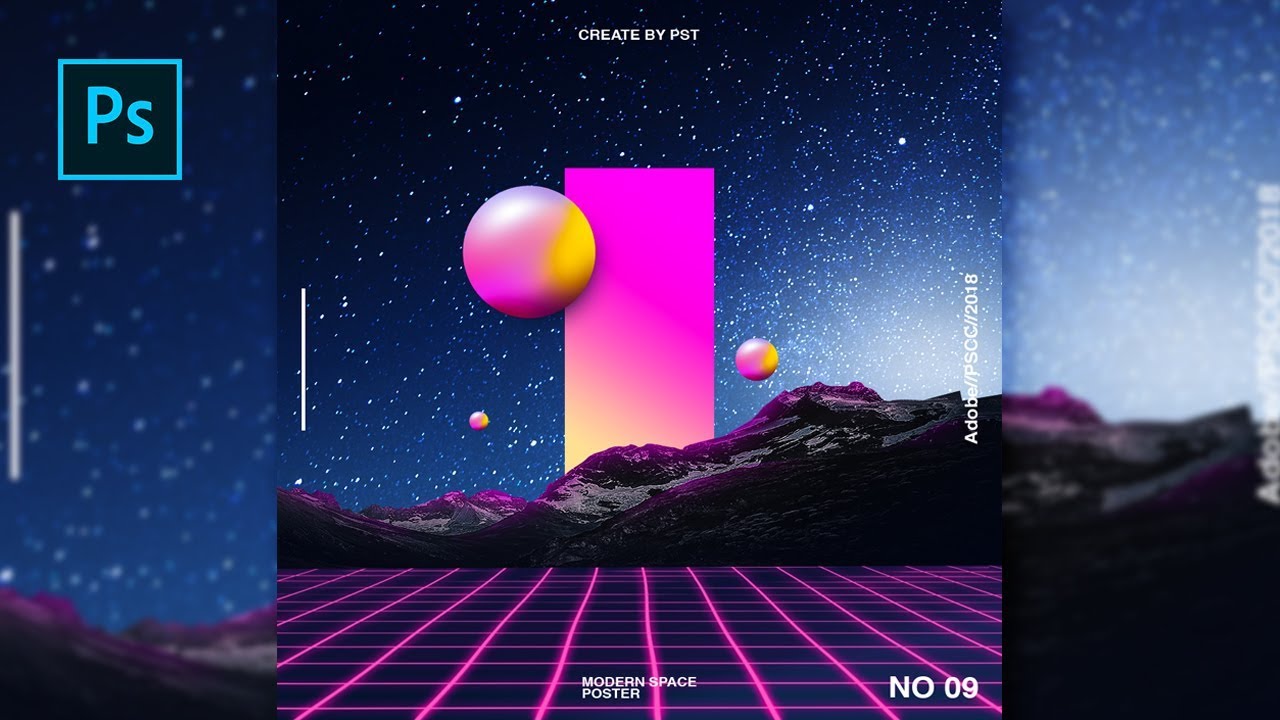
This tutorial will teach you how to create a Vaporwave Grid in Photoshop using the Rectangle Tool (U), the Pen Tool (P), and the Layer Styles panel. Start by opening a new document in Photoshop with a canvas size of 1024x768px. Vaporwave is a visual effect from the late 1990s that incorporates elements of glitch art and is used in music videos and other forms of artwork.
By using the features of Photoshop, you can create this effect on your images. This tutorial will show you how to use these features and explain different parameters to consider when creating a vaporwave effect.
We can create this effect in present on our image with the help of different features of Photoshop software. In this article, we will learn how we can create vaporwave in this software by using its features and also analyze different parameters of these features. So let us start our discussion about the Vaporwave Grid in Photoshop topic in this software.
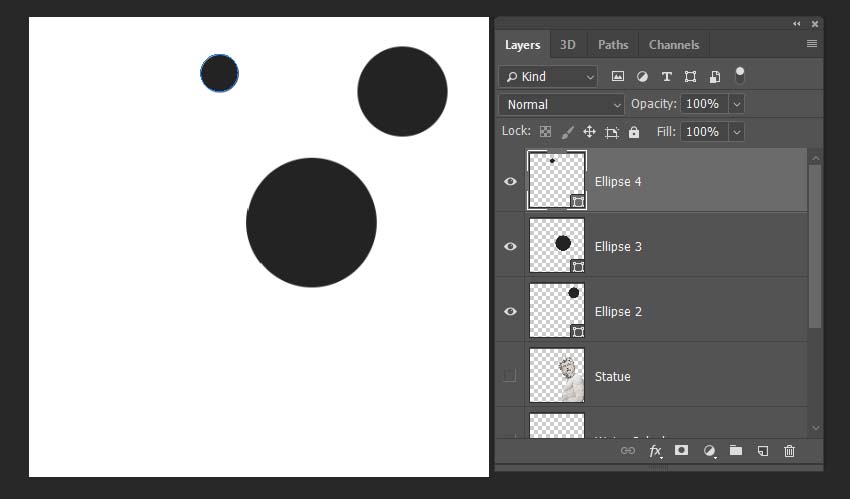
Grids and Guides are an essential tool when it comes to logo or icon design, as they allow you to get precise positioning of shapes and objects. Additionally, grids can be used to create a template for images. Using grids for both purposes, like in this example, where the grid helps to align the two letters of a word and make the back of G line up with the front of R.
How to Create Vaporwave in Photoshop?

We ought to follow a few straightforward steps for applying this impact on our image however I think prior to starting our learning about this topic we ought to have take a gander at the working screen of this software with the goal that we can more readily understand this topic all through this article.
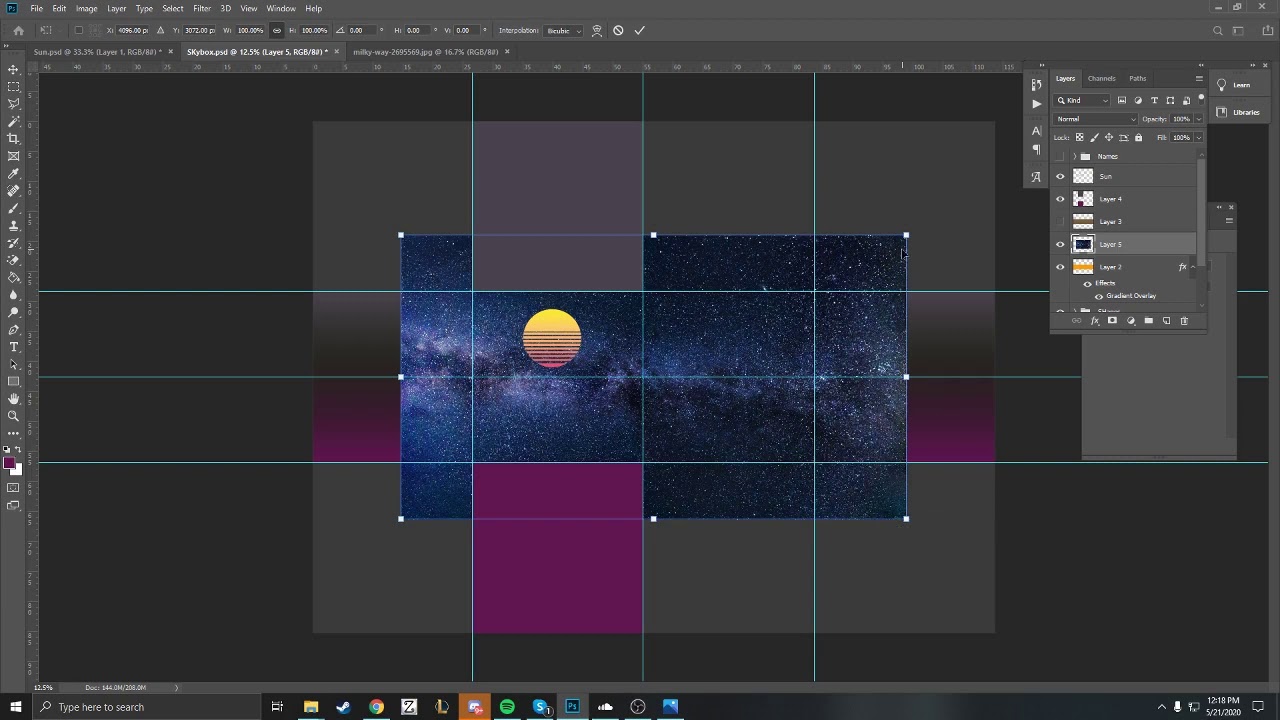
At the top, we have a Menu bar that has various menus like Record, Alter, Image, and some others. These menus helps us in the management of various parameters of this software during our working in this software. Beneath this menu bar, we have a bar of Properties of active tool or image through which we can manage parameters of those tools or images.

Underneath this bar, we have Vaporwave Grid in Photoshop which has an alternate sort of tool for making our work easy in this software, at the middle we have display window in which we can see our work, at the right side we have a few panels which helps in the management of various features of this software. You can reset all the segments at a better place according to your decision.
The Speedy Technique to Make a Grid in Photoshop
Actually, it just takes a couple of snaps to create a grid in photoshop. Indeed, it’s more similar to turning on the perceivability of the grids. All you have to do is to create another report in Photoshop, go to the top menu, and select View > Show > Grid.

The screen captures are taken from Adobe Photoshop CC 2021 Mac form. Windows or different forms can appear to be unique.
To alter the grid, you can return to the top menu and select Photoshop > Inclinations > Guides, Grid and Cuts.
An Inclinations window will spring up and you can change the grid tone, gridline spacing, developments, and so forth.
Make a Grid Template for Image in Photoshop
- Step 1: Go to the top menu View > New Aide Layout. Check the two Segments and Lines, then input the quantities of sections and columns that you want to make.
For example, we should make the 3 x 3 grid.
- Step 2: Check the Middle Sections and Clear Existing Aides boxes at the bottom.
Actually, in the event that you needn’t bother with any spacing between the grids, you can click alright, and you’re all set. In any case, follow me to the subsequent stages.
- Step 3 (Optional): You can add some spacing between the grids by adding the Drain value, which will be great to make a photo collage.
Same thing for the margin, you can add margin values to leave some space from the lines, which will be great for publishing and printing. In the event that not, simply leave it blank.
Width and Level are also optional, you can Vaporwave Grid in Photoshop add the width and level of the image size that you’re adding to the grid. In the event that you want equal appropriation, simply leave it blank.
You can pull in your photo to check whether the spacing is sufficient and adjust accordingly.
- Step 4 (Optional yet suggested): Save your template. Click on the Preset choice bar and select Save Preset.
Name it and save it for sometime later. In the future to utilize it again, you can basically choose Load Preset and find it.
If you want to make your gridlines more apparent you can go to the top menu and select Photoshop > Inclinations > Guides, Grid and Cuts, and change the Aides (right, not Grid this time) variety.
Conclusion
You’re only a couple of snaps away. Both grid-making techniques are very straightforward and they make your work look professional whether you’re doing a photo layout for a magazine page, catalog, or designing a logo.
Presently you can understand the Vaporwave Grid in Photoshop after this article and can easily utilize this impact on your image for getting an old visual impact of the 1990s. You can have a decent command of it by spending increasingly more time practicing this feature.