In spite of whether you like spaces or tabs, semicolons or none, single or twofold statements, we can all settle on the significance of consistency and lucidity in a codebase. Remove ESLint From React Project is one way to deal with laying out consistency and lucidity by implementing coding rules and principles.
Projects made utilizing Create React App have linting with Apple ID not active working and designed out of the case with reasonable defaults. For most situations that implies that you have nothing else to do and all that will simply work. The accompanying article ought to prove to be useful in situations where you’d need to customize the linting rules.
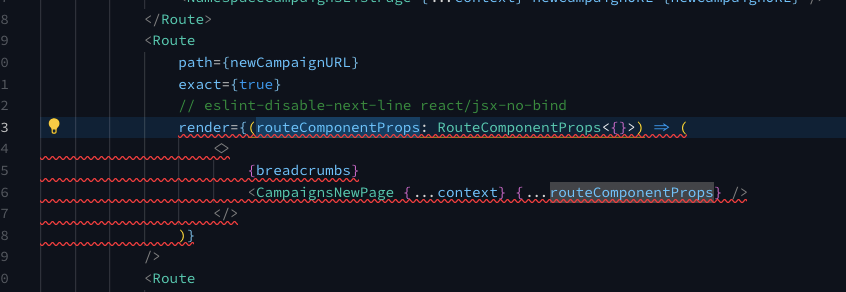
There may be a substantial justification for creation code, however being developed mode, being able to get to the program debugger and the Console API is fundamental. You can cripple at least one explicit ESLint rules for an entire document by adding on a couple of lines.
ESLint – is an extremely helpful tool to control code Remove ESLint From React Project. Yet, here and there handicapping it is important. In this tutorial, you’ll figure out how to switch off ESLint for specific directories and records.
Figuring out Linting
Coding generally leaves space for blunders, particularly with approximately composed Remove ESLint From React Project. By carrying out a linter in our code editor and our project, we can save time by finding blunders before we even execute our code.
Most well known code editors either automatically incorporate a linter for the language you’re utilizing or offer different expansions with the goal that you can design how you like to build up locally.
While linting locally can and will save us time, there is generally the master plan – like different code editors and dev conditions.
Setting Up the Project
We should utilize Create React App to immediately set up a React project. On the off chance that you’re inexperienced with it and need a little assistance beginning, counsel Getting Comfortable with Create React App.
In the first place, in the terminal run:
- npx make react-application linter-demo
Explore to the directory:
- compact disc linter-demo
Then, at that point, begin the application:
- npm start
Presto! We’ve currently got a project to test.
Shooting a Create React App Project
Like most things being developed, Remove ESLint From React Project is essentially wizardry until you’re prepared to get into some quick and dirty customizations.

One disadvantage with the defaults in a project made utilizing Create React App is that you can design ESLint by shooting or forking the project which passes on a ton to be wanted for most exceptional engineers. Unfortunately you can’t coordinate Prettier, change rules to accommodate your group’s style and you’re gotten into the form.
Make React App considers as the most steady adaptation regardless of what deliveries could take care of your interesting issues. It passes on a ton to be wanted with regards to adaptability. There are even grievances and issues that Create React App cripples the guidelines that it proposes adhering to.
How would I cripple ESLint for the entire project?
To cripple rule alerts in a whole document, put a/* eslint-handicap */block remark at the top of the record:/* eslint-debilitate */alert(‘foo’); You can likewise impair or empower explicit principles for a whole document:/* eslint-incapacitate no-ready */alert(‘foo’);
How would I remove ESLint from Vue project?
To debilitate ESLint in Vue CLI, we simply remove the @vue/cli-module eslint bundle from the Vue CLI project. to remove the @vue/cli-module eslint bundle, which will impair ESLint in the Vue CLI project.