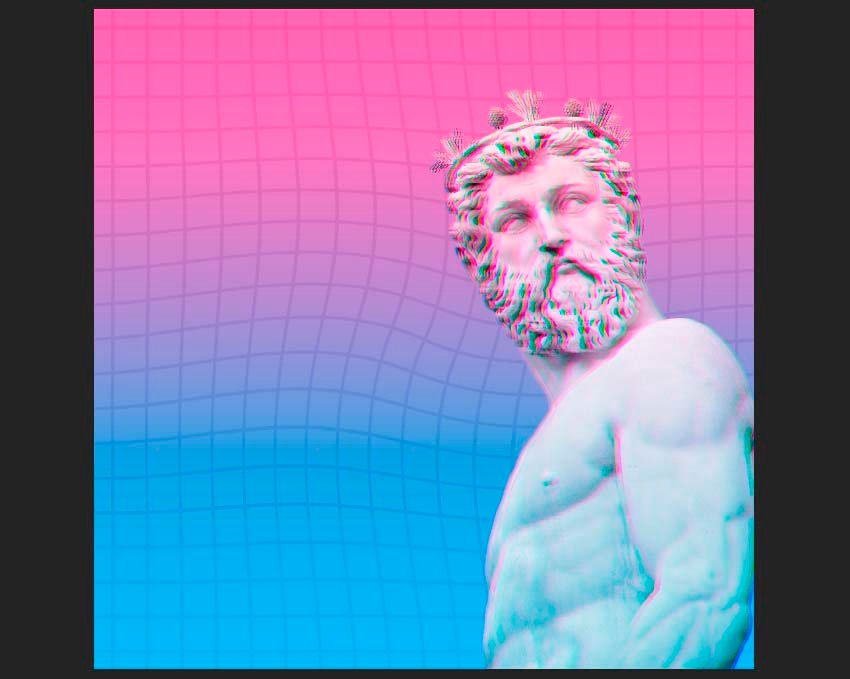
Do you like neon collection covers and vaporwave Make a Vaporwave Intro? Today, I’ll show you how to make your own vaporware collection cover in Photoshop utilizing shapes, channels, and inclinations. Additionally, toward the finish of the instructional exercise, you will track down an extremely valuable assortment of vaporwave collection cover generators.
How to Prepare the Photos
Step 1
Prior to beginning to make the collection cover, we really want to remove the components. Open the photographs in Photoshop and begin choosing the articles utilizing the Quick Selection Tool (W).

Step 2
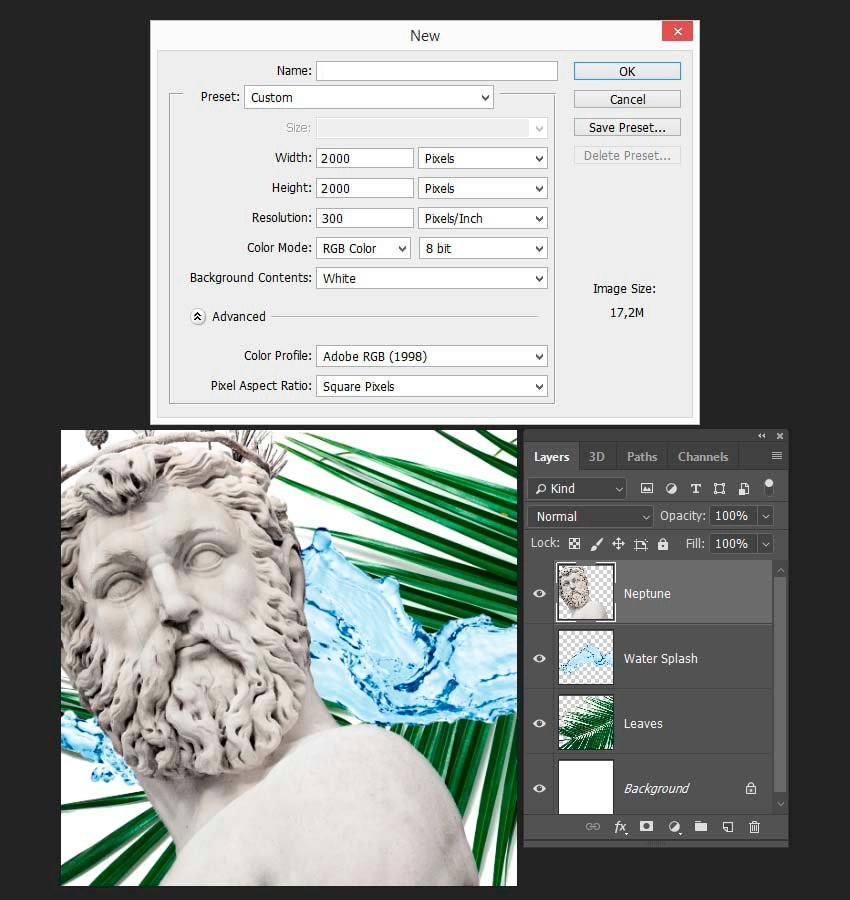
Whenever you’ve chosen every one of the articles, make another archive with the accompanying settings: 2000×2000 px; 300 dpi. From that point forward, Copy and Paste every one of the components into the report utilizing the Control-C and Control-V console alternate ways.
Step 3
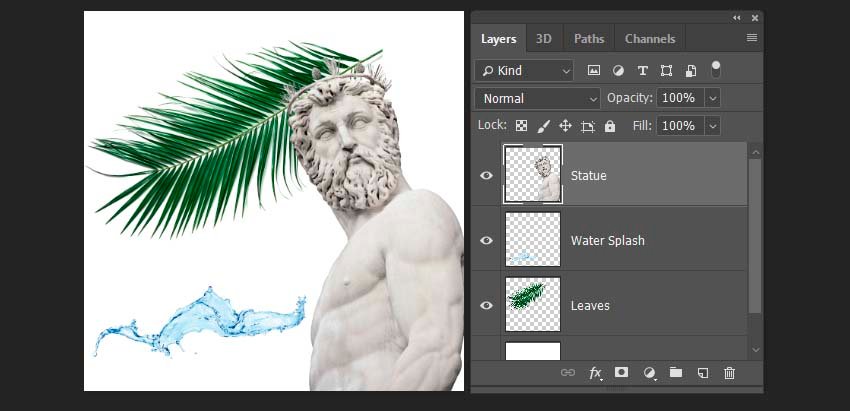
Resize the components to fit the report size by squeezing Control-T and holding Shift.
How to Create the Shapes for the Vaporwave Album Cover
Step 1
Presently how about we make the shapes for our collection cover. Make a Vaporwave Intro the layer with the photographs Invisible, and afterward make three ovals utilizing the Ellipse Tool (U) while holding Shift.

Step 2
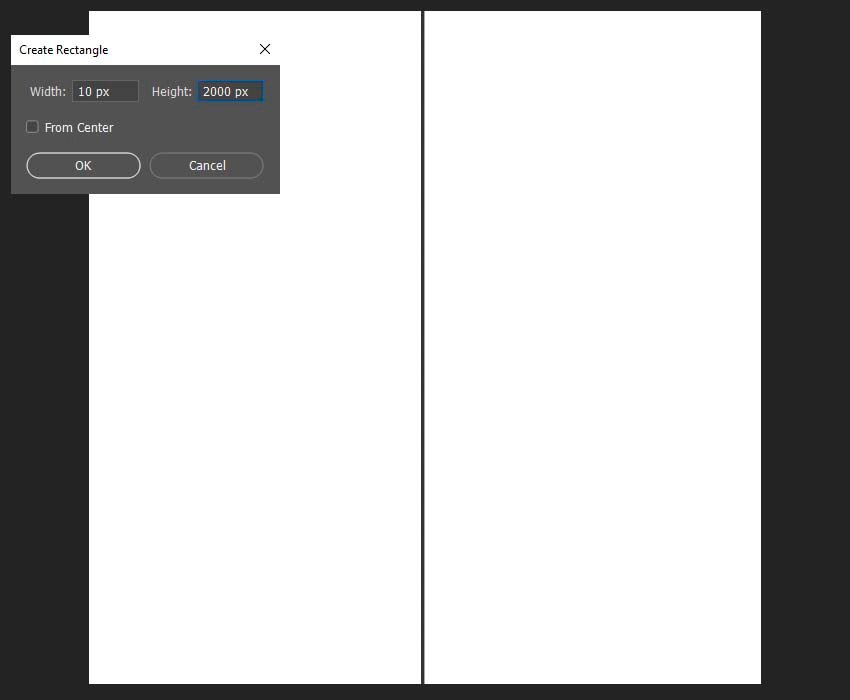
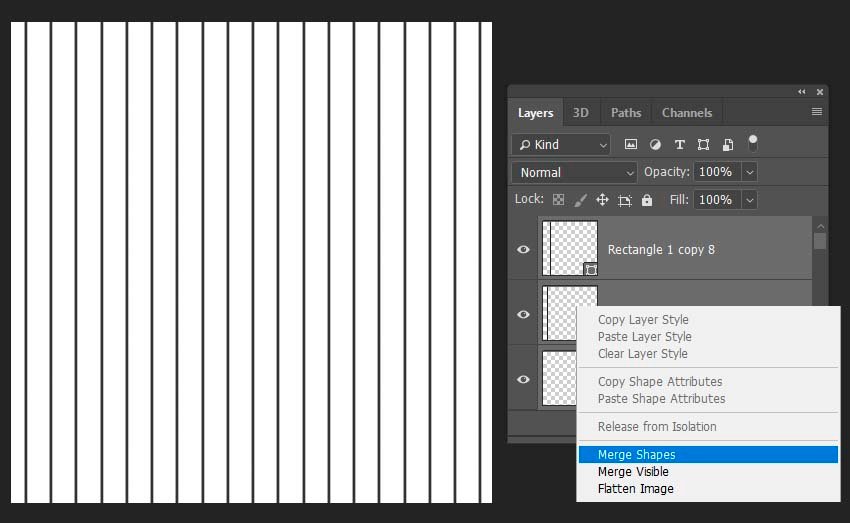
Then, at that point, make a square shape with the accompanying size: 10 px by 2000 px.
Step 3
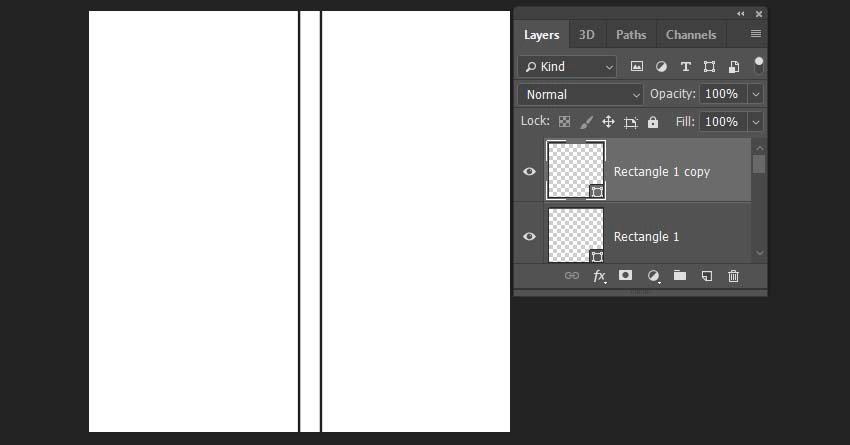
Make a copy of the shape by squeezing Control-J, and afterward move it 105 px to one side while holding Shift.
Step 4
Fill the foundation with the copies until it looks like the screen capture underneath. Then, at that point, select all the shape layers and Right Click > Merge Shapes.
Step 5
Make a copy of the consolidated shapes, and afterward hit Control-T and turn the shape 90 degrees while holding Shift. From that point onward, Merge it with the past component.
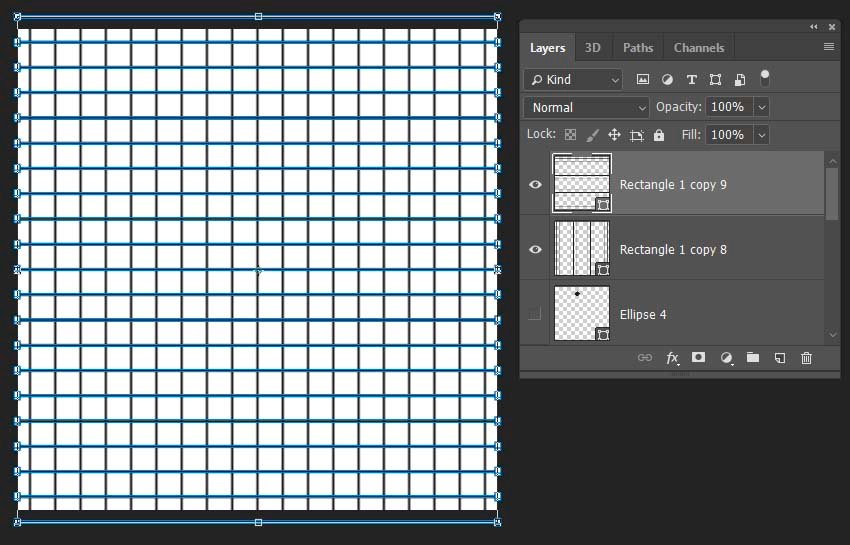
Step 6
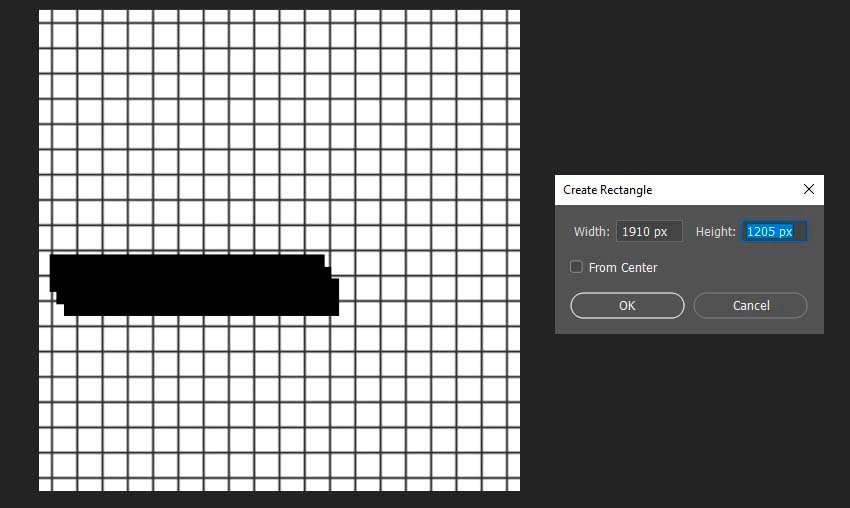
Lastly, make a new 1145 by 155 px square shape. Make two copies of this shape and spot them as shown in the screen capture beneath:
How to Create the Shapes for the Vaporwave Album Cover
Step 1
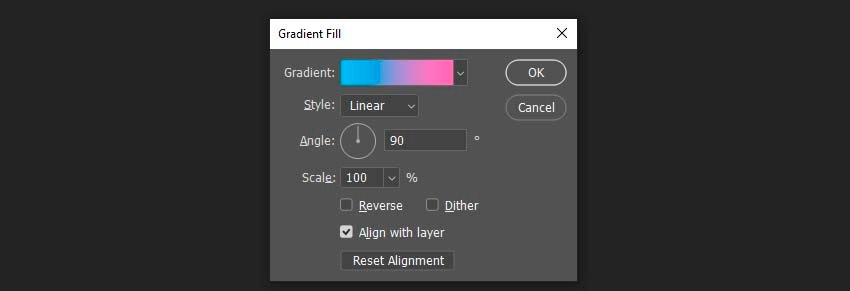
We should begin by making a foundation Make a Vaporwave Intro. Go to Layer > New Fill Layer > Gradient Fill and utilize the accompanying settings:
- Style: Linear
- Point: 90
- Shading Codes: #41b7f3 #e765ad
Step 2
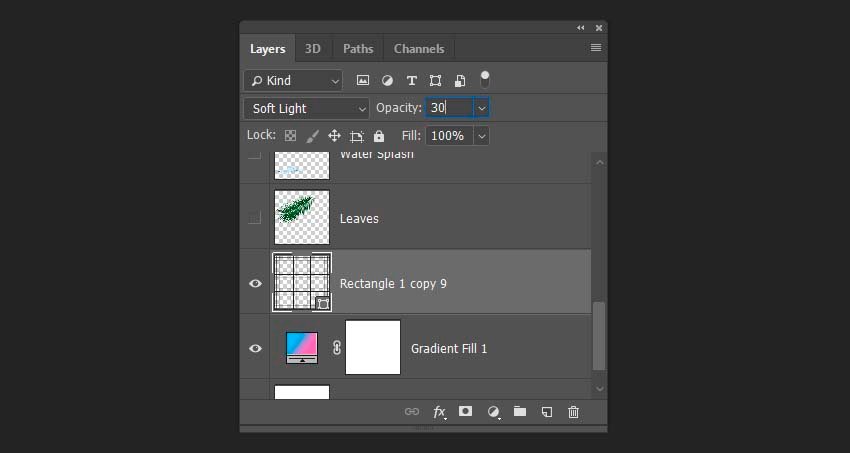
Select the framework shape, and change the Blending Mode to Soft Light and the Opacity to 30%.
Step 3
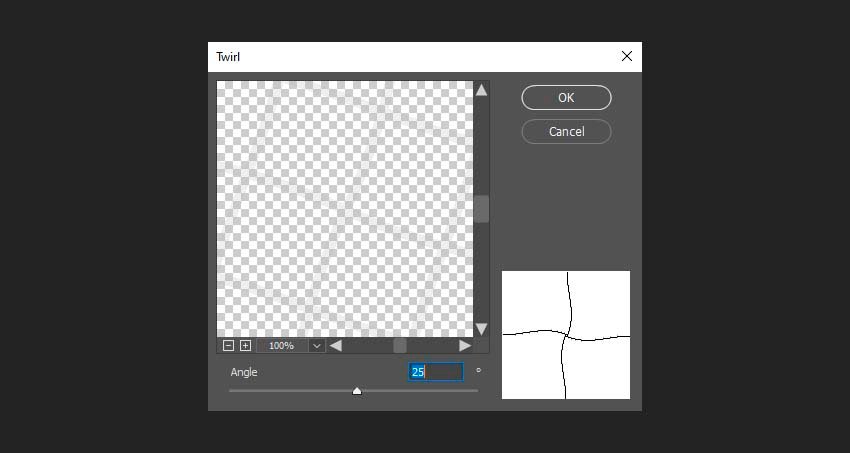
Go to Filter > Distort > Twirl and set the Angle to 25.
Step 4
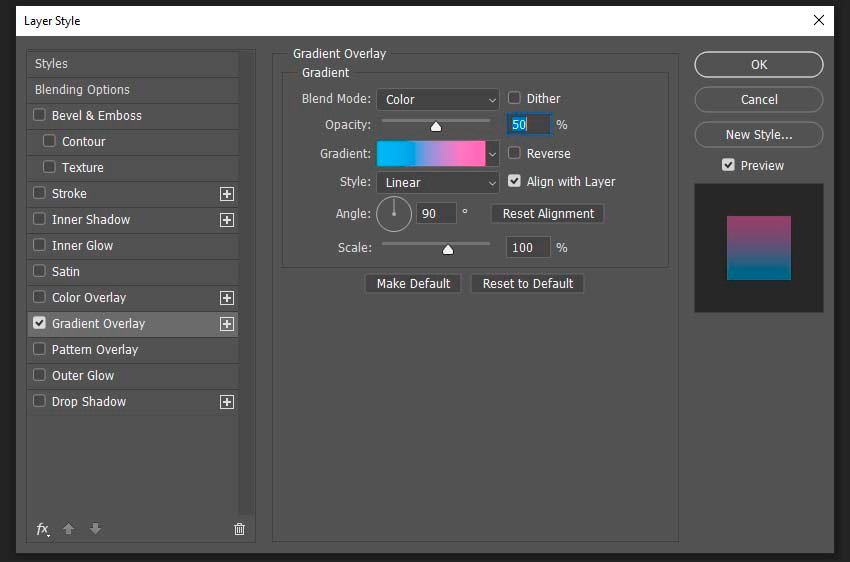
Double tap on the layer with the landmark and add a Gradient Overlay with the accompanying settings:
- Mix Mode: Color
- Murkiness: half
- Style: Linear
- Point: 90
Utilize a similar shading as in the past.
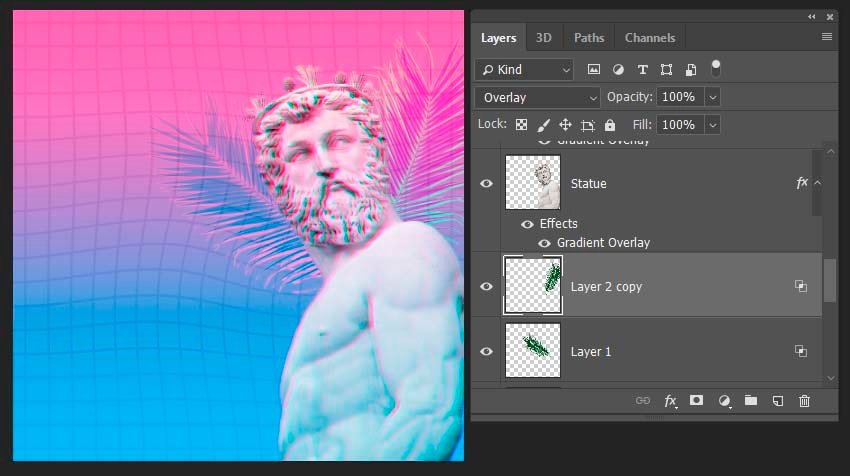
Step 5
Make two copies of the layer, and afterward cripple the Red and Blue channels on the principal layer and the Green and Blue channels on the subsequent one.

Step 6
Move the principal copy to the right and the second copy to the left to make a shading shift impact.
Step 7
Select the layer with the leaves and make a copy of it. Then, at that point, place and change the leaves utilizing Control-T, as shown underneath:
![]()
Step 8
Change the Blending Mode of the right component to Overlay, and afterward handicap the Green and Blue channels of the primary layer and the Red and Blue channels of the subsequent layer.
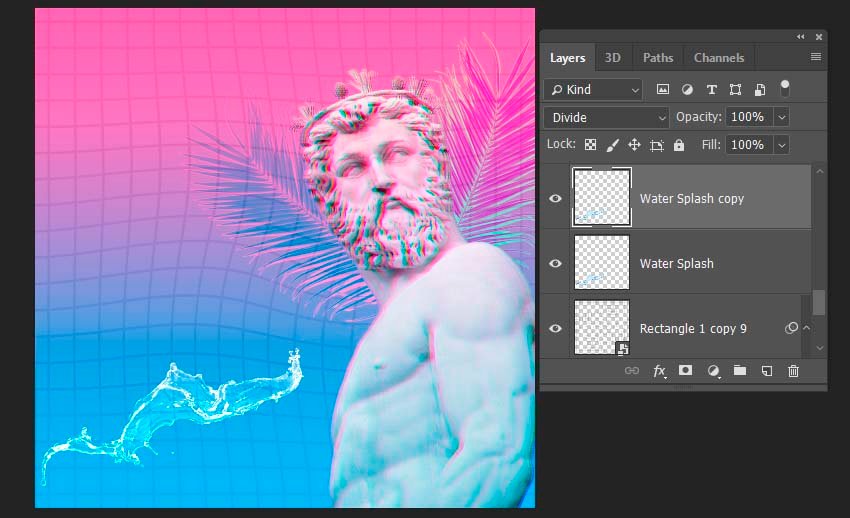
Step 9
From that point onward, place the water sprinkle layer in the base left corner of the archive, change the Blending Mode to Divide, and make a copy.
Last Word
Is it true or not that you are spilling on Make a Vaporwave Intro? Searching for a Twitch pennant with vaporwave style? We take care of you! This astonishing Twitch flag with vaporware plan components and cool retro textual styles could be an extraordinary expansion to your Twitch channel. On the off chance that you try to avoid the foundation or some other component, you could without much of a stretch change it on Placeit.